Camera Settings for Surf Photography
Before Selecting your settings, STUDY THE CONDITIONS and the light
You should be trying to maximise your composure, by understanding the light and how it will affect your photos. Generally, surf photography requires a lot of light because it requires such high shutter speeds. Consider where the sun is, how the shadow will affect the surfer, and which direction the glare is coming from. Sometimes options are limited and you just have to make do, but for the best results, I find you want to be shooting the surfers from an angle where their shadow is behind them and the glare is minimal. You can sometimes use a good quality polarising filter to reduce the glare, but adding the extra glass onto the lens can reduce the sharpness of your images and might make your photos a bit darker. As you become more experienced keep trying different things to see you can manipulate the effects of the light and sunshine to improve the quality of your photos.
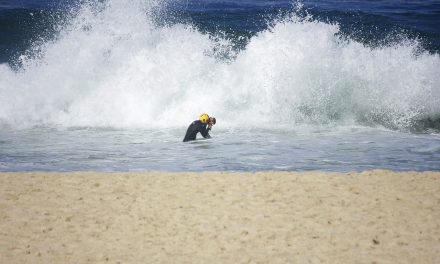
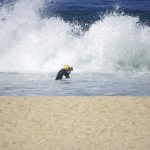
It really depends on the type of photos you want to take and how you want to showcase the action, so the method is very subjective, which is why it’s better to experiment from all the angels. If I’m shooting from the beach I like to try stand on a rock or something if I can to get a better vantage point of the surfer, so all of the wash from the waves in front doesn’t get in my way. Just make sure you can get a nice steady shot, and if you need a tripod or monopod, find a spot where you can use it.
Things to consider before shooting
- To shoot well-lit surf photography you need lots of light. And unless you want the surfers to look be underexposed, if at all possible choose a time of the day when the sun is above or in front of the surfers, instead of behind them. Sometimes even if the surf is pumping, it’s not worth spending hours shooting photos that will be underexposed and blurry. Because the darker it is the slow your shutter speed will be and the noisier you photos will be from using higher ISOs.
- Sometimes light thin clouds can act as a defuser for the sun, which can help avoid some of the harsh lighting and glare caused by the sun.
CHOOSing YOUR SETTINGS
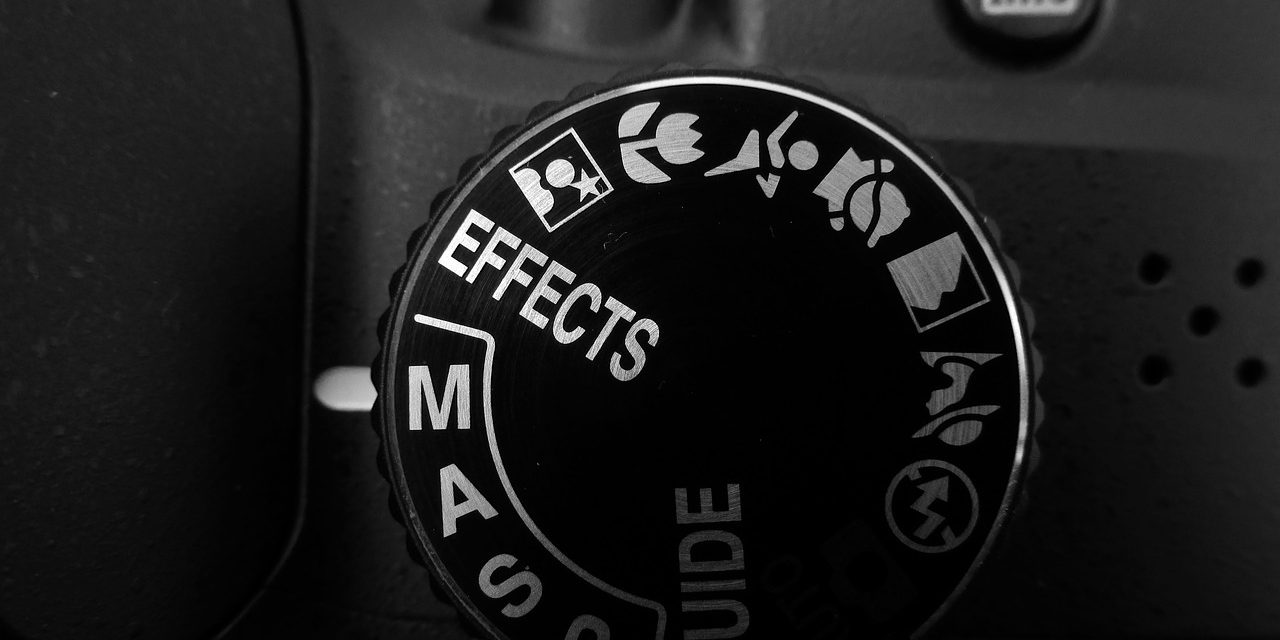
Surfing is a fast and dynamic sport, so to capture its essence, its no good if your camera takes a full second to take a photos. There will always be artsy exceptions to the rule, but often you need to capture the moment instantly as soon as it happens, with sharp detail and character. If you’re just starting out and aren’t quite comfortable with using manual or aren’t sure how to use the light yet, use the TV, as this is shutter priority, crank that shutter speed up and experiment with it until you get good brightness in your photos. If you’re really fresh to the manual world you can even set your ISO to auto which should make up for a misjudgement in settings, however keep in mind, the low the ISO the better, otherwise you start to introduce more and more noise into your photos, and if your photos get too grainy they become harder to edit well. And of course if you aren’t comfortable with any of that yet, you can always fall back on the automatic sports or actions modes on the camera.
Use manual settings if you can
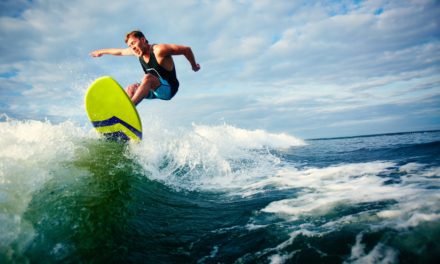
As you gain confidence its always better to master the manual settings of your camera as they give you ultimate control over the detail that comes from choosing the correct aperture and shutter speed. The problem with automatic settings is they can’t read the moment as well as you can, often over or under exposing your photos. The most impressive surf photography photos tend to have a nice and crisp sharpness, freezing the motion, incorporating the results of the motion such as the spray or trail, with correctly exposed skin on the surfer.
Take lots of photos
While post editing raw DSLR images allows you to do and salvage more, often the best photos have that it factor because they were taken that way. Post editing is a great fallback, but try not to become to dependant on it. You want to be able to take good photos, not just turn things into decent photos all the time. Get out there and experiment with your composure and settings to try to take photos that you don’t have to edit for them to look good. Find your it factor.
Shoot in JPEG, your camera will be able to maximise its shutter speed if it doesn’t have to process RAW images. I’ve shot in both and for action shots 9 times out of 10 I use the JPEG, because presets are more universally good, and often find it harder to make RAW formatted surfing images look natural.
Keep checking your photos
It’s always wise to keep checking your photos so make sure you aren’t under or over exposing them. Be aware that conditions and lighting continuously change, and so must your settings. Also, its hard to tell, but make sure you zoom right in on the photos to check that the surfer is actually in focus.
Summary of things to consider
- High shutter speed.
- Low ISO (Preferably keep it between ISO 100-200, and try not to go higher than ISO 400 unless you really don’t have a lot of light to work with.
- Sharp Aperture, choose an aperture that will keep your photo sharp while leaving your photo sufficiently exposed.
- Shoot in JPEG only, if you’re shooting in RAW images it often slows down to processing speed of your camera, which is also slowing down your shutter speed. Also, well taken JPEG surf photography action images are a lot easier to edit than RAW images.
- Managing over-exposure (too bright): If its too bright, first make the ISO as low as you can, if its still to bright raise the shutter speed, if you’re facing god like rays and its still too bright, lower the aperture (raise the aperture number, the high the number the less light it lets in.)
- Managing under-exposure (too dark): If you have the right shutter speed to freeze the motion of the surfer, then first try adjusting the aperture until it is at its lowest number, and all you can do is raise the ISO. Any darker and you may have to lower the shutter speed and experiment with a bit of motion blur.
- Watch where you focus. If you are shooting from land make sure you’re focusing on the surfer, because the auto-focus with try focus on everything before the surfer, which can sometimes be hard to tell until you get them back on a computer.
Please comment below if there is anything else you would like to know about choosing the right camera settings.

