Editing Surf Photography with Lightroom and Photoshop
Post Editing
Theirs a variety of different photo editing software out there, however Adobe have it down pat for convenience sake, because you can really do just about anything you want to do with Lightroom and Photoshop. Though, regardless of what software you are using, for quality images one of the easiest ways to make a photo look better is by cropping them.
Cropping
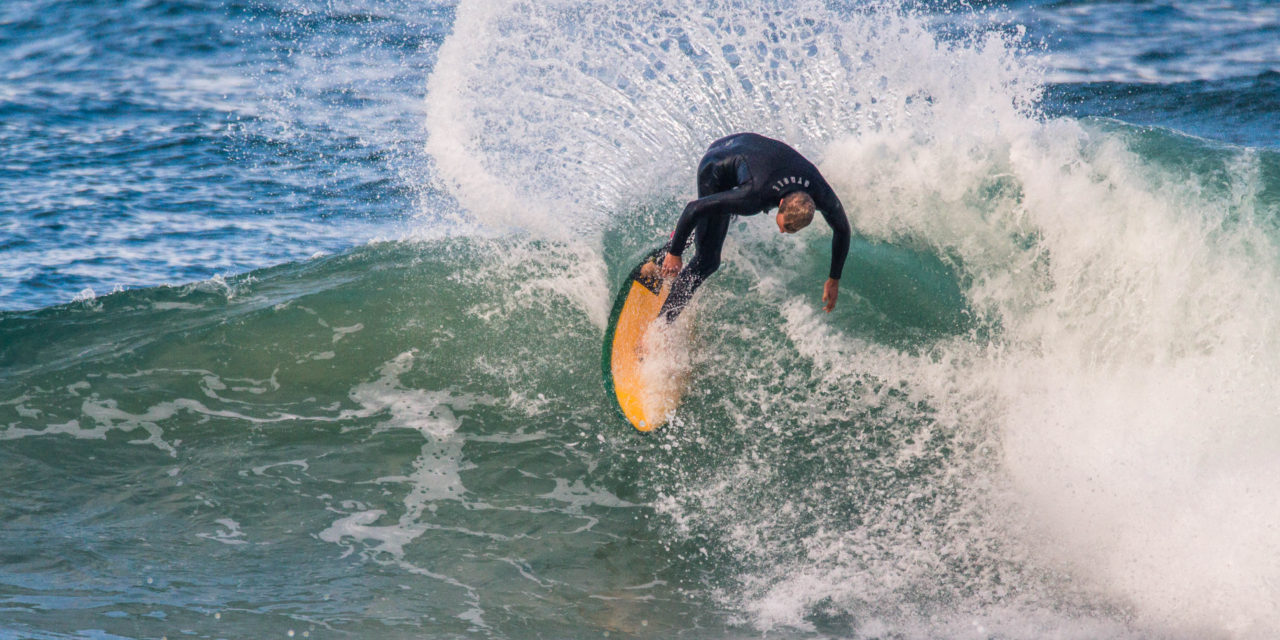
One common practice is to use the rule of thirds. While it can be easier to incorporate it when take the picture, taking high speed photos can make it hard to perfectly line up that frame which is where cropping comes in handy. However, when it comes to surfing, because there can be a lot going on with a picture with the wave and the trail the surfer, you sometimes have to be a bit lax with the rule of thirds.
Lightroom
You can’t always be in a tropical paradise, where every photo looks perfect straight of the camera. Thus, post processing is a great way to enhance the quality of you images and composure. Lightroom is a powerful, and widely use post editting tool which is great for efficiently getting to most out of your images. It enables you to adjust important elements such as the contast, exposure, and saturation, and is pack full of features which can help you completely transform an image (if you wanted to).
Make the most of masks, filters and brushes. These are handy because they enable you to apply settings to specific areas of you photos, such as ONLY to the surfer, or ONLY to the background.
Don’t be afraid to experiment, your image may not always would out, but if you learn new techniques to help you make a superb images in the future, its worth it. This is especially useful if you don’t always have to option to shoot regularly, be experimenting with your images it can also help you understand what makes your images look good, and can enhance your photography skills by giving you better vision and improving your ability to read the scene and apply settings for the desired outcome.
Editing Tips to consider
- High Brightness – Well exposed wave and surfer with plenty contrast)
- Enhanced Clarity
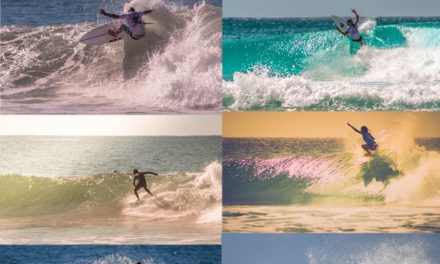
- Slightly Lowered Saturation, but raised vibrance (eg. Staturation -10, Vibrance +20)
- Slightly reduce the saturation of reds, oranges, and purples
- Slightly enhance the saturation for the blues and greens
- Find presets to suit your photos and desired finish
- Save your most common adjustments as presets to save time
Photoshop
Lightroom is photo manipulation to an extent, as at allows you to add filters and custom adjustments, etc. However, if you’re a real visionary kind of person, who wants to warp, add to, and manipulate the image into something it wasn’t, Photoshop is for you. For general photography, photoshop is a necessity, generally lightroom is best and most convenient for bringing out the best in a image. Athlough, as you get more confident and really want to alter the image and get into the area of photo-manipulation that’s when photoshop becomes most useful for surf photography.
For example, if I was to use photoshop to edit my surf photos, it would be to add something like a sunset and flying birds, or to maybe reposition landmarks in the background, such as making to city or mounts on the other side of the bay look much closer for more well rounded image. In essence, its a way to fake good composition and scenery.
Know your audience
Consider who your photos are for.
Are you shooting professional photos for a magazine or billboard?
When you’re shooting for such a commercial and large scale purpose, this is when you really need to take to most care with the quality of you images.
Are you shooting photos for an amature client?
Although it would be nice to take billboard worthy photos for clients, you need to be realistic, most of the time they just want cool photos of themselve surfing. Quality is important, but you want always be in a quite setting with perfect conditions, so work with what you’ve got, capture some good moments of your subject, and remember, for it to be profitable the effort you put in, needs to be reflective of how much you are getting paid.
Are you shooting photos for your blog and instagram?
I find this is the easiest to shoot for. Often it’s hard to tell on the camera whether or not the photo worked out as planned. It can make you a bit lazy with your settings, but when you’re shooting for such small screens, its easier to fake a better quality image because the audience can only see it at on a phone or on the blog feed of a website.
Other?
Its up to the photographer you want to be, you can mix things up to suit your style or the photos purpose.
The main issue here is integrity and honesty, and if everyone is happy it shouldn’t really matter, just don’t try to pass things off as real when they’re not. Its ok to make beautiful images, it is a form or art after all, but be transparent and respectful, don’t try cheat customers, or fake your way into things.
Knowing where your photos will be showing will also help you decide how to sort and edit them. If you are shooting professional photos to be published, you may want to focus more on the very best quality frames of a wave. However, I find if the primary place I am posting my photos is Instagram you can get away with a lot more, because the images are being shared at such a small size you can defects such as a slight blur aren’t as noticeable as they are on the big screen, allowing you to post them off as better quality shots.
Get out there and experiment with your photos.

